Welcome

Welcome to my blog. I'm glad you stopped by to see what these Musings are all about. Since they're straight off the top of my head, I haven't exactly figured it out myself! We all muddle through each day and, hopefully, we find something to rejoice in as we choose, sort, piece and quilt our beautiful stashes of fabric.
Please visit my website: http://www.judithheyward.com/ to learn more about my quilts. Or contact me at judyheyward@gmail.com if you have any questions or comments. Thanks.

Friday, July 23, 2010

Fractured Landscapes

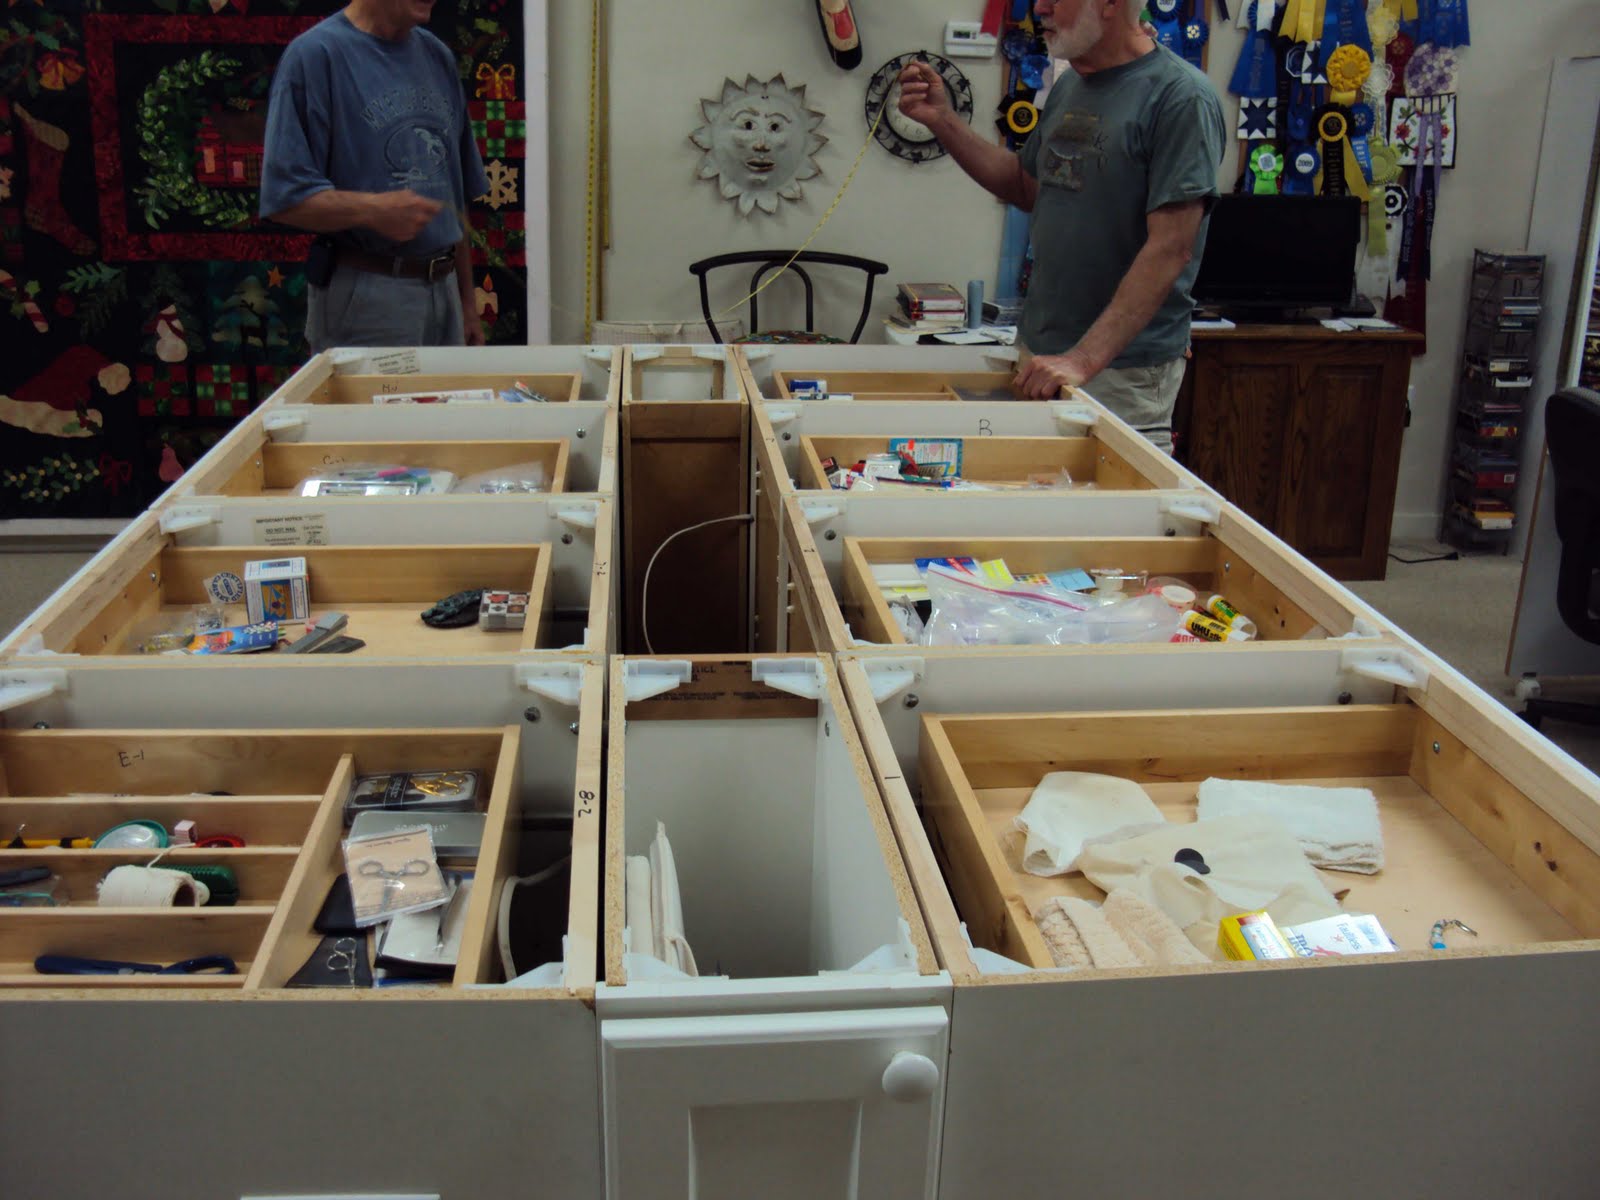
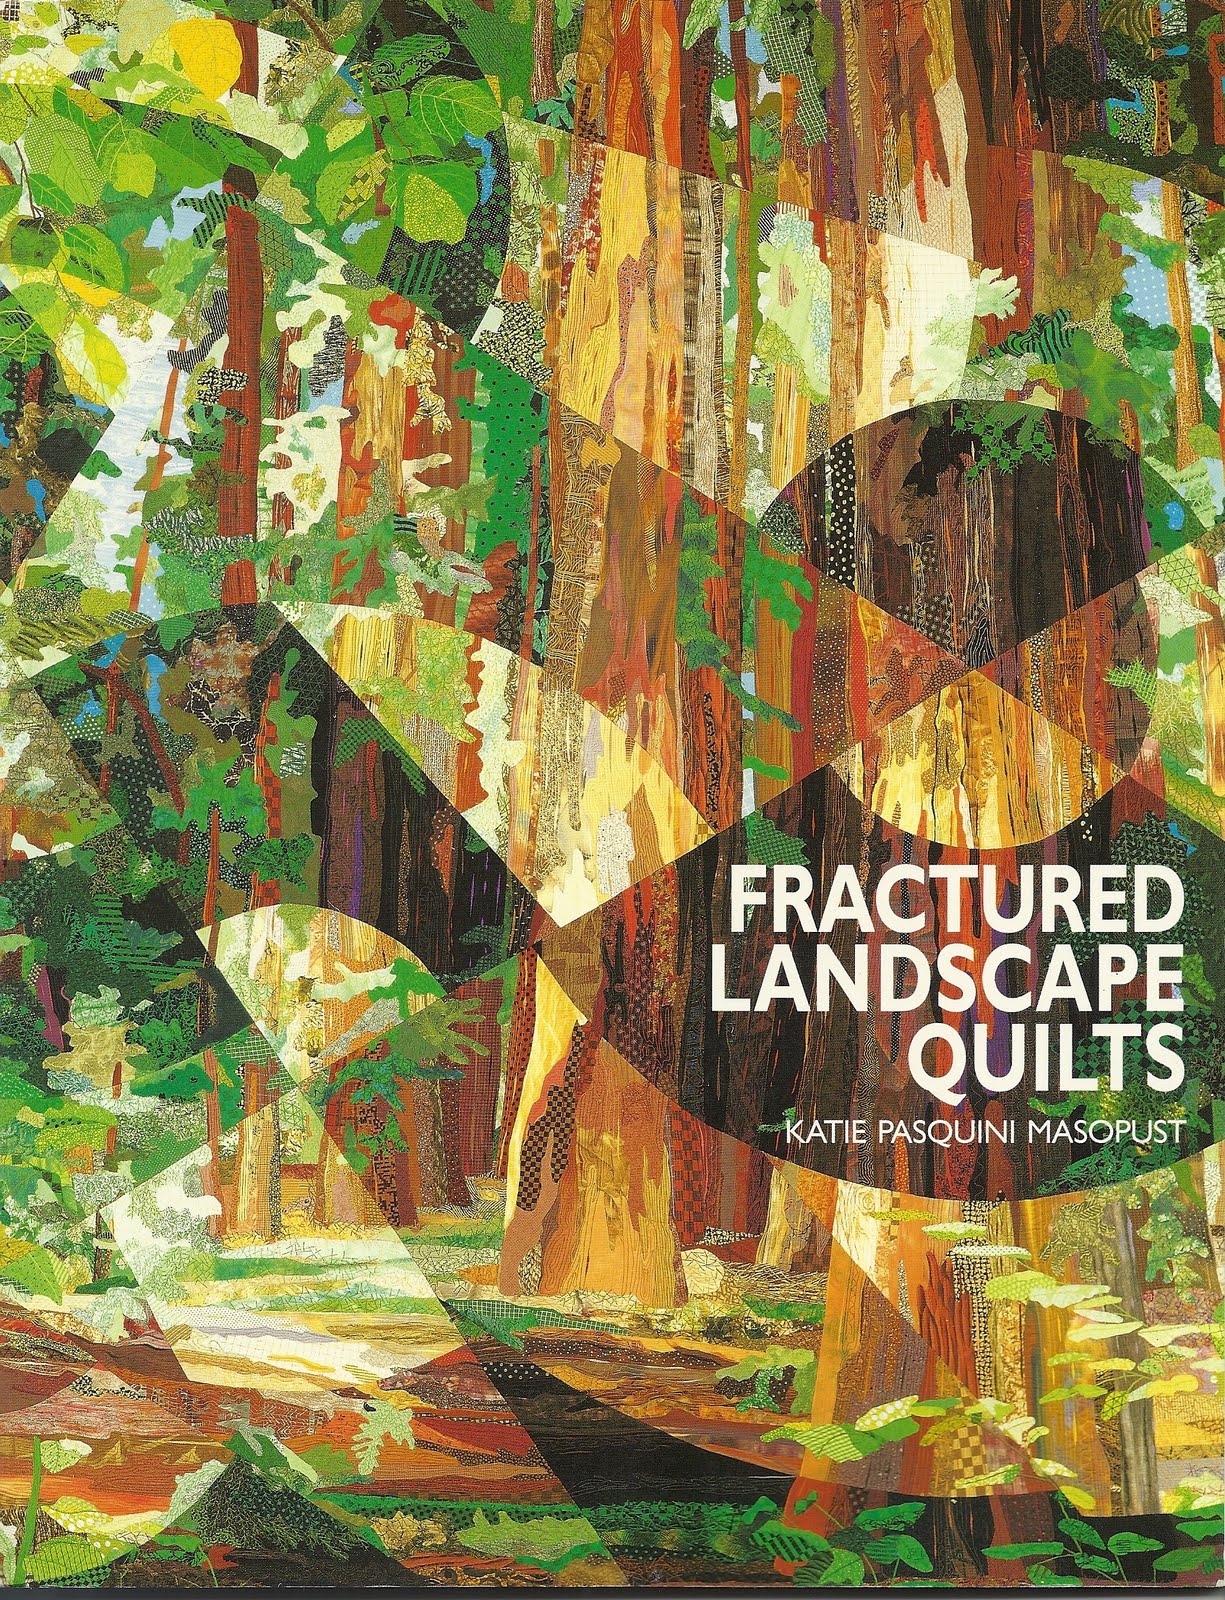
This past Wednesday, I was in Asheville at a workshop with Katie Pasquini Masopust. The name of the workshop was Fractured Landscapes--based on her book of the same name.
This was such an inspiring day for me. I felt stretched and invigorated by what she offered the class and, although I'm not sure that I'll make a fractured landscape quilt, I will use the techniques I learned that day. She uses a method of applique that involves acetate, spray starch, Sulky Totally Stable, a stiletto and tracing paper--among other things. Her teaching style is forthright and organized and she gave everyone individual attention and encouragement. Each person was asked to bring a photograph that she wanted to make into a fractured quilt and then the class, as a whole, discussed each photo--about how to crop it to make a better quilt.


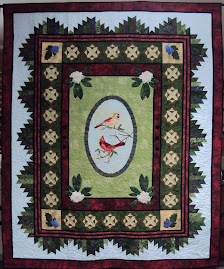
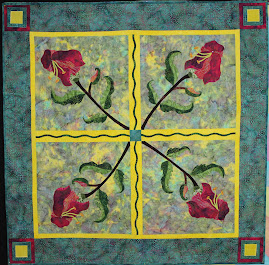
Katie has, of course, gone on to other things now. Here she is with one of her more recent quilts. She first paints a picture and then converts it into a quilt, using the same techniques of appliquing that she used with the Fractured Landscapes. Although her quilt deserves a better photo than the one I took, I hope that you can see her perfect use of color as a design element.

So, all in all, it was a wonderful day and I can hardly wait to "clear the decks" so I can use these techniques in a real project. Thanks, Katie--it was beyond great.

Thursday, July 15, 2010

Time To Set The Table


I have finally finished a pattern that I've been working on for several months. I came up with the concept for the pattern a while back but put it aside when we decided to move back to Charleston. I call it Flora Bella and it is fat quarter friendly. I will get a better picture soon as you can't see the red appliqued circles that are on each end of the table runner. And the finishing on the placements and table runner is a little different from the usual binding method. Because of the curved ends I decided to go with the "pillow cover" method and I think it works quite well.
As soon as I get the patterns actually printed out and assembled, I'll be putting it on my website for sale.
I hope you like it!

Monday, July 12, 2010

Top Of The Morning To You

When I moved out of my studio last year, I had to break off the top of my cutting table in order to get the cabinets down the stairs. It was just too big to get out in one or two good pieces. When I set up my studio in the mountains, I didn't use all of the cabinets and just had unfinished plywood for a top.


Since I've been back here, I've had all of my cabinets set up--but no top. This is what I've been using for the last month or so. It didn't quite cover everything (but it WAS easier to get things out of the top drawers!). We went to Home Depot--where we had gotten the first top made--but were quite taken aback to learn that the price would be more than double what it was five years ago. (I hadn't thought that the price of wood had increased THAT much). Anyway, while we were there, we got into a discussion with a fellow customer and it turned out that (are you ready for this?) he installed counter tops for a living. Talk about synchronisity. He was very nice, gave us a much better price and actually showed up when he said he would.
Here are the cabinets as he is getting ready to get started and I sure hope he wasn't analyzing me in relation to the mess that was showing in those exposed drawers! My husband helped him carry the materials up the stairs to my studio and it all made it up there without a hitch. And here it is with one sheet in place. He did two more and then added a border (for which I don't know the correct term) around the entire thing. Then he sanded the top so there would be a smooth, flat surface for the formica to adhere to.


And now here is my wonderful finished top. I can assure you that I am really enjoying having it finished. And our guy was not only cheaper, nice and on time--he was a great craftsman as well. This was really the final thing that needed to be done to restore my studio back to what is was before I left. Can you hear my husband saying, "We are NEVER, EVER, EVER leaving again. Do I need to repeat that?"?
I guess I'd better listen.

Tuesday, July 6, 2010

Machine Quilting Unlimited


I was very fortunate to have my quilt, Say It With Flowers, included in the Noteworthy section of the July issue of Machine Quilting Unlimited. It's always kind of neat to see one's quilts "in print" and this magazine does such a great job in their layout and presentation. If you haven't seen an issue, let me encourage you to do so if you are a machine quilter--either longarm or conventional (like I am). Their web address is:
http://www.mqumag.com/. In this particular issue they have a great article on quilt classes--from the perspective of both the teacher and student--and another wonderful article on organizing your studio and making the most of your resources. And the pictures of quilts--oh my! Winning quilts from several shows are displayed and they are ALL inspiring. And while a lot of the magazine is devoted to longarm quilters, there is plenty of interest to those of us who aren't. Take a look--see what you think. And, thanks, Machine Quilting Unlimited, for including me in this issue.